The evolution of technology has made it essential for children to be exposed to devices early in their life. These devices can help the kids with learning amidst other things and make it easier for them to understand the way of something better. However, it is often crucial that you take special care in setting up an Apple ID for your kids to enable you to effectively monitor the kinds of information to which they might have been exposed. In this article, we will be reviewing how to create Apple ID for kids.
How Does Family Sharing Work on Apple ID?
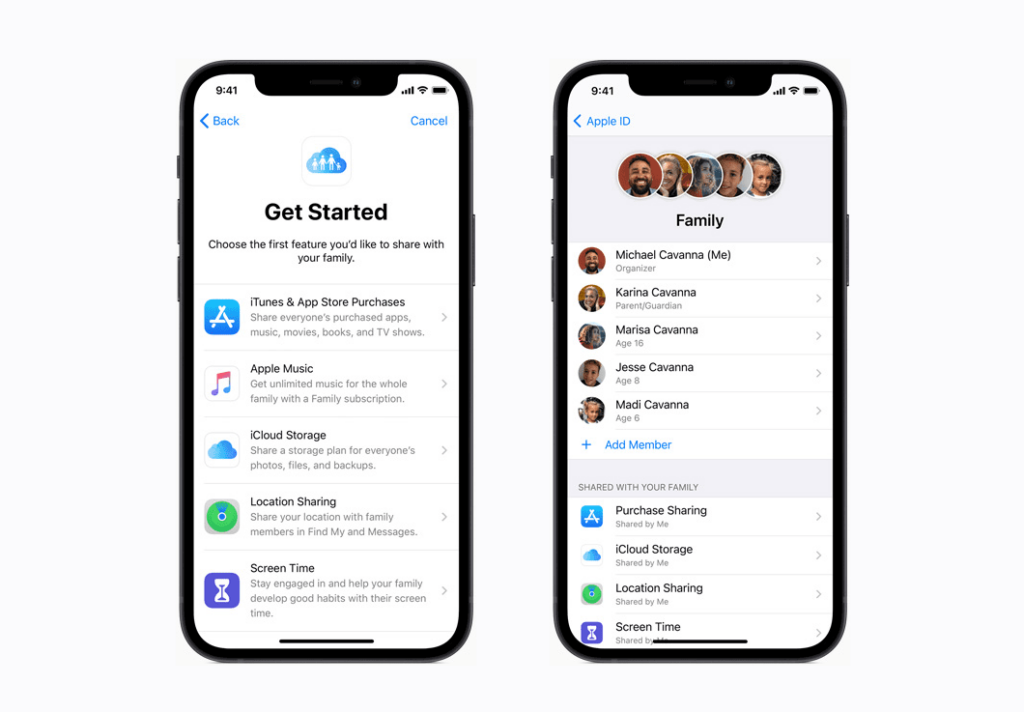
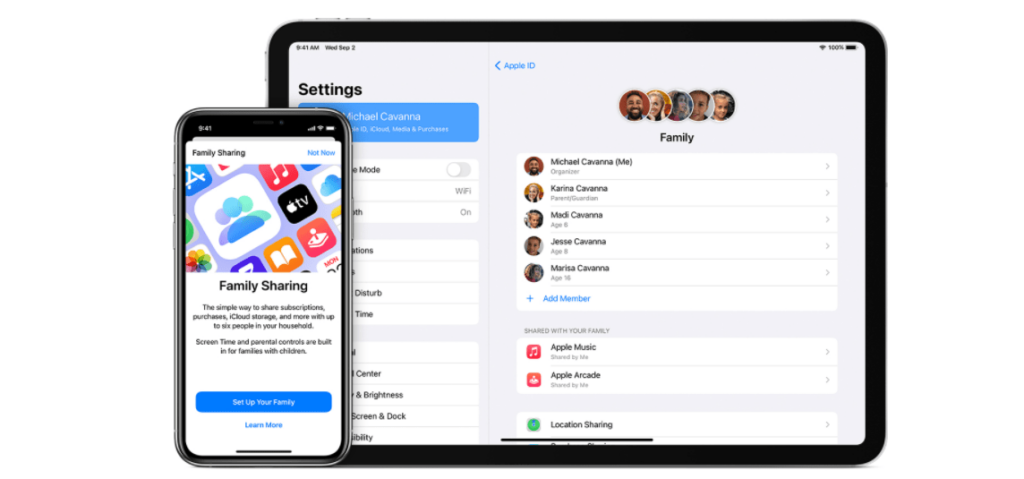
Setting up a Family Sharing on Apple ID makes it easy to add your friends and family to your Apple ID plan. You can share your music or data plans with the family member added to your plan. You need to invite them via Messages, or if they are close to you, they can input their Apple ID password and be added to your family plan, and get started.

Why Do You Need to Create an Apple ID for a Child?
By creating an Apple ID for your child, you would be able to add the child’s iPhone or MacBook device to the family sharing, which would enable you to monitor the activities of your child’s device. For example, it allows you to set screen limits, monitor downloads, and many more on the child’s gadget by making it easy to turn off or limit access to specific sites or apps.
Apple ID For Kids: What Does It Include?
Since allowing your child to use your ID might not be the best choice, you must follow proper steps to create a new Apple ID for kids, allowing you to set certain restrictions to the contents the kids can access.
Step-by-Step Guide for Setting Up a Child’s iOS Device
Below is the step-by-step guide on how to create an Apple ID for kids:
- Go to Settings on your device.
- Tap “Family Sharing” on the menu list.
- Then tap the “Add Member” to add any member of your family you intend to share your plan.
- Tap “Create an Account for a Child”. Then you will see a pop-up notification informing you that the child will be a part of the family until the age of 13, indicating that you can only use the option to create Apple ID for kids under 13. Then a dialog box will appear asking you to provide parental consent. Then the Family Privacy Disclosure page appears. Tap “Agree” and follow the screen prompt.
- Proceed to enter your child’s name, followed by the date of birth, to create a new Apple ID for your kid. It is essential to enter this information correctly as you won’t be able to alter it later. You may skip the email part if your child doesn’t have an email yet.
- Proceed to enter the email you intend to register your kid’s Apple ID with, then click next to verify the inputted email.
- Enter the verification code, and it will direct you to the next page, where you will need to enter your password to create your child Apple ID, then verify the password.
- After entering the password twice, the system will direct you to the next page. First, it requests if you intend to verify the device your child is accessing using your phone number. In case of consent, you’ll get a prompt whenever your child uses the account to sign on to any device. Once you make your selection, proceed to a terms and conditions screen.
- Read the terms and conditions and tap “agree” once the dialog box appears.
- After completing the process, your child would be able to use their newly created Apple ID to sign in to Apple devices.
Depending on the Apple device used, below is the guide to setting up a Family Sharing Apple ID for it.

On Your iPhone, iPad, or iPod Touch
You can add your child to your Apple Family Sharing by following the under listed steps to create Apple ID for a kid’s iPad (you can learn more about how to set up an iPad for a child on the official website):
- Go to Settings.
- Tap your name, then tap Family Sharing.
- Tap Add Member.
- Enter your family member’s name or email address and follow the onscreen instructions.
- Please choose whether you’d like to send an invitation by Message or invite them in person. Then follow the instructions on the screen.
Create Child Apple ID on Your Mac
- Choose the device menu, then tap System Preferences in the drop-down menu.
- Tap Family Sharing.
- Tap Add Family Member, then follow the onscreen instructions.
If you’re using mac OS Mojave, you should follow the steps listed below:
- Select the Apple menu, tap the System Preferences, and click iCloud.
- Click Manage Family.
- Click the Add Family Member button, then follow the instructions displayed on the screen.
Safety Concerns for Setting Up Apple ID for a Child
Setting up an ID of the iOS device for your child will help control the following:
- Access to your photos or messages, which should be confidential.
- Prevent your child from accessing data with age restrictions.
- Protect the child from undue exposure to specific information with limited access by parental controls features of a child’s ID.
Things to Consider While Creating an Apple ID for a Child
Below are things to consider when creating a child’s Apple ID.
- The age of the kid
- The extent of parental control available
- The use to which your child puts the Apple device
Once you determine the above listed, you wouldn’t have any issues setting up the feature in question.
Conclusion
When you create Apple ID for your child, you allow them to access information that could aid development. However, you must monitor your kids’ activities on these devices due to the nature of contents on display everywhere recently. Thus, setting up a child’s Apple ID allows you to set parental controls that help you monitor and control the contents your kids look at through Family Sharing.
FAQ
Yes, you should since allowing your kids have access to your Apple ID might expose them to content on your device that is not kid-proof.
A child might have 2 Apple IDs. However, the kid can only join one family group at a time and would need to leave an existing family to enter a new one.
You can monitor your child's iPhone through parental control apps. You can also follow the basic steps on your child's Apple ID to limit sites to visit and screen time through the Family Sharing access features.

Latest posts
- 10 Best Apps for Parents to Monitor Social Media: 2026 Guide
- Complete List of Keywords to Block for Parental Control
- Does Telegram Notify Screenshots? Everything About Screenshot Detection
- How to Find Someone’s Deleted Instagram Posts: Complete Guide
- Family Tracking App by uMobix: Keep Loved Ones Safe


