

Most probably, you have Google Maps installed on your phone, offering a feature that allows you to browse the places and locations you have traveled over a certain period of time. In 2015, the Google Maps Timeline was given a facelift that enables it to collate pictures at specific locations and offer you an enhanced overview of your movements across the globe. Most smartphone users utilize this feature to have an idea of their location history and activities over time.
Once geolocation services are enabled on your device, you can activate a Google Maps timeline that allows you to reminisce on your movement on a certain day – the side attractions, places, and countries you visited.
Surprisingly, most individuals are unaware of the fact that Google can keep track records of their location on their Android or iOS devices. All details about your travel are embedded in the location history. Google Location History is a great feature, but some people are not comfortable with the idea of having it active on their devices.
This article will also address how to disable your location history if you do not want the feature to be on. It is important to note that the Google Location service does not work when you are setting up your new device, and persons concerned about their privacy and confidentiality can easily opt out.
The truth is that almost all applications can keep records of your location, and most smartphone users are not aware of this information. In this article, you will learn how to enable your location history, disable it, and delete it completely. The ball, clearly, is in your court, as you have every right to decide what you want.
How to Enable Location History in Google Maps

Before a timeline for tracking your movements over a certain period of time is created, there is a need to have your location history activated. Google Maps is responsible for creating your timeline as it tracks your movements over time.
By default, location history is turned off but can easily be enabled. Follow these steps to enable location history:
- Log in to your Google account page and tap your profile picture in Google Maps.
- Tap on the “Your timeline” option. Click Manage Location History.
- Simply toggle the button to switch on the location history. You can also set up your auto-delete settings if you mind being tracked.
How to View Your Location History in Google Maps
An interesting fact is that Google is aware of your movements and knows your location and activities. Location history is a feature embedded in your Google account that keeps records of your whereabouts when it is enabled on your mobile device. You can view your data in Google Maps Timeline on your desktop browser or the Maps App on your Android or iOS devices. Familiarize yourself with the steps mentioned in the next sections.
How to View Location History in Google Maps in Your Desktop Browser
These are the steps to follow if you want to track location history in Google Maps on your desktop browser.
- Visit the Google Maps website in your desktop browser and click on the three-line menu button located in the top-left corner of your computer. As soon as the menu is opened, click on “Your Timeline”.
- You will be shown a map that depicts every place you have visited by Google Maps as you have enabled the Location History feature on your device.
Learn more about the feature by using the Timeline feature in the top-left corner of your desktop. Ensure you click on the drop-down menu to showcase the specific date, month, and year to see the locations you have visited on the map over a certain period.
You may also view the location history by place. You are required to click the red box located in the bottom-left corner to show you the places you have visited. The box has a rectangular shape. Once it is opened, you will be shown a horizontal panel with all locations, and you can search for the location you visited most. Make use of the slider to explore the places you have checked in.
In most cases, when you move your mouse over a certain place, you will see a pin on the map to mark the exact location. When you click on the place and select an option called “Last Visit in Timeline”, it will show you the most recent date you visited the location and inform you how you reached the destination from your saved home address. If you want to know more information about the location, select “Place Details”. It will show you further details such as website, address, contact information, and directions on how to get to the location.
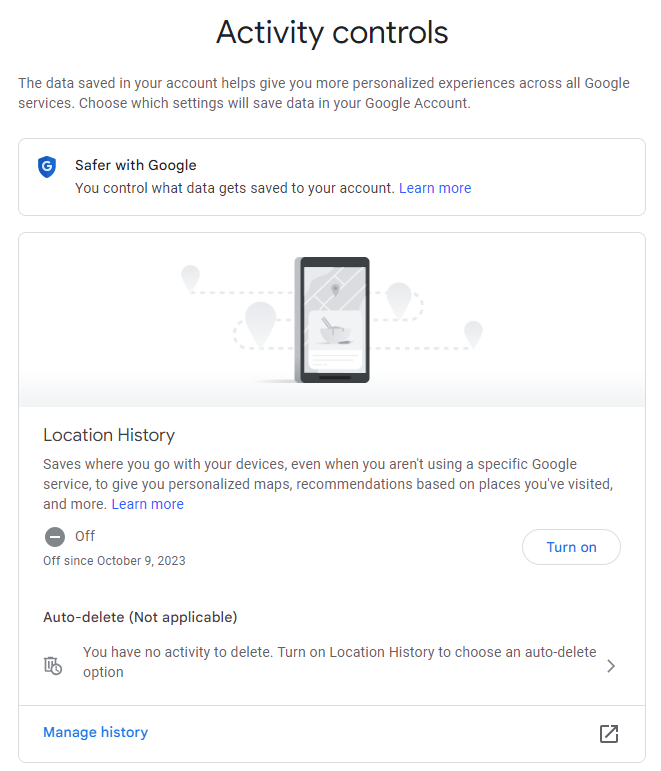
If you want Google Maps to stop saving details of your activities and locations you visit, click on the “Manage Location History” button and toggle it off. Click on the “Auto-delete” option on the Activity Controls page and select the option for your location data to be deleted after a certain period of time automatically. It could be 3, 6, or 12 months, the choice is yours.
You can also clear your entire location history if you click on the trash can icon situated in the bottom-right corner of the map. Once you see the message that reads “Permanently delete all location history”, tick the box with the information “I understand and want to delete all location history” and ensure you delete location history.
How to View Location History in Google Maps in the Mobile App
To view your location history in Google Maps on the mobile app, you are required to tap your profile in the top-right corner and select Your Timeline. You will be shown a list of every location you have visited.
Checking your location history on the mobile app offers you a more robust option than viewing on the website, and that is an added advantage. You can also explore places by day, check trips, and view every detail of your movements, as well as the places you visited and the duration of your journey.
On the mobile app, you may also tap places to see places classified into categories like airports, attractions, hotels, food and drink, and shopping. Choosing the cities option will enable you to see the last time you checked in a city or town and the number of places you visited while on a trip to the location. Click on the world to see the number of cities and towns you have visited in a specific country.
Click on your profile picture and select the “Your data in Maps” option to switch your location history on or turn it off. However, you may save your location history before clearing the information. You are required to click on the “Download your Maps Data” to access Google Takeout. Select the needed data you want to download and select if you want the data to be sent to your email or Google Drive. You are required to click on the “Create export” option, and a zip file comprising your location history will be sent to you.
View Google Maps Location History on iPhone
Using Google Maps on iPhone for viewing location history is possible as follows:
- Launch the Maps app on your iPhone.
- Tapping the profile icon situated at the upper section of the screen. Opt for Your Timeline.
- Select the calendar icon positioned at the top and choose a specific date.
- View location history.
View Google Maps Location History on Android
If you want to learn how to view your location history in Google Maps on Android, you need to follow these steps without skipping one.
- Launch Google Maps on your device and tap your profile picture.
- Tap Your Timeline.
- Press Today to open the calendar to view a specific date.
- You can also swipe to the right or left to pick the month if you are searching for a particular month.
- Press a date to see your location history. It will show you the routes, length, and duration of your trip for the selected day.
- Tap on Places, Cities, or World for more insights.
Deleting Location History from Google Maps
Google Maps Timeline tracks your location history and keeps records of places you visited and your activities. Persons who cherish their privacy can deactivate this feature or delete location history through the mobile app or website.
- If you want to delete your Google Maps history on your PC, visit maps.google.com.
- Click on the three stacked lines located in the top-left corner of your page.
- Choose the “Your data in Maps” option.
- Under the Google-wide controls tab, you will locate the “Location History” option. Click on the “See and Delete activity” button.
- On the bottom-left corner of your timeline that displays the several places you have visited and saved, click on the red box.
- Click on the trash can icon to delete the chosen locations.
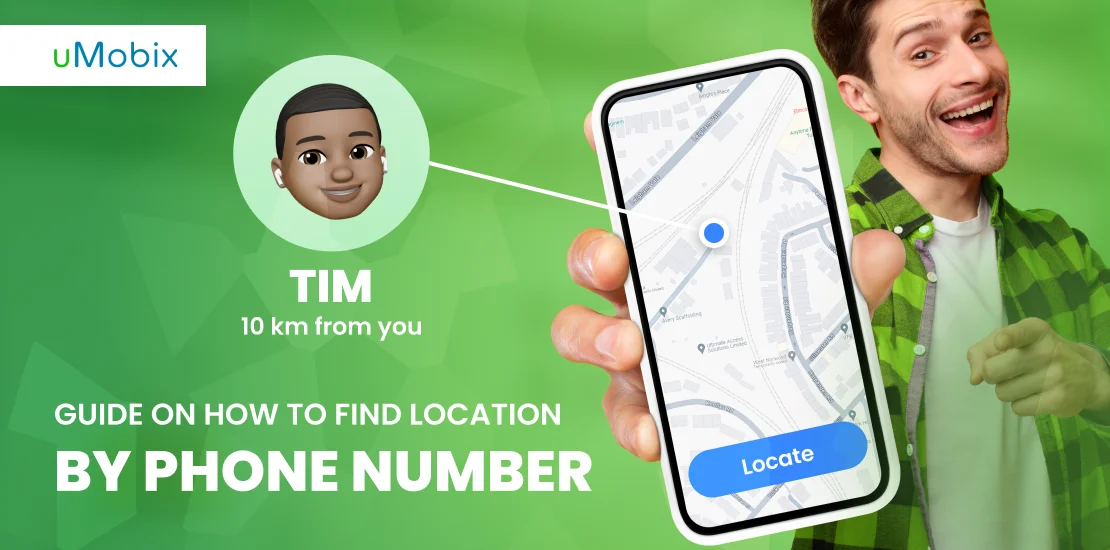
Location History from Google Maps vs. Live Phone Tracker App
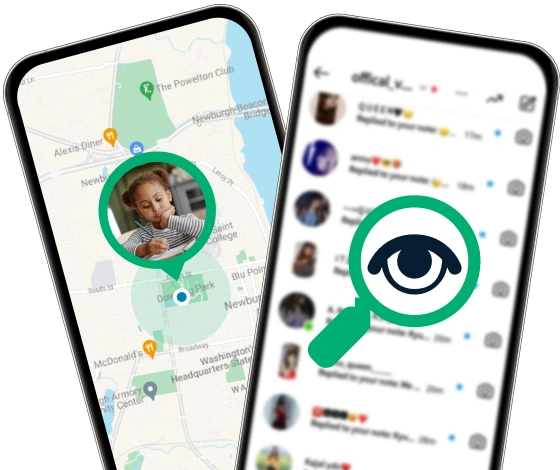
GPS Cell Phone Locator is much more than a simple tracker that enables you to locate the phones of your loved ones. Apart from sending GPS notifications available in your user space, uMobix is able to provide social media insights on Android and iOS, activate live streaming, log keystrokes, take screen snapshots, capture texts, call logs, browser history, and much more.
When it comes to location tracking, uMobix provides real-time updates, while Google Maps Timeline shows the history of locations visited in the past, eliminating the opportunity to react promptly. The latter might be handy in case of a lost device, while the uMobix live phone tracker app is a go-to solution if you need a discreet app for remote spying and checking someone location withoyt them knowing, yet it can still be pre-installed on your own device and used for locating it in case of a loss as well. While Google Maps Timeline is free, uMobix offers a free trial for 48 hours, available upon request from customer support via live chat.
Conclusion
The Google location history feature can be used to evaluate your traveling history, providing the opportunity to stop sharing location at any time. Google Maps can also act as a life-saving application for individuals who want to locate a lost device or share their location with their loved ones to ensure their whereabouts are known. While it provides free functionality, though somehow limited, you may opt for a phone tracker for iPhone or Android for more insights.
Latest posts
- How to Find Deleted Reels on Instagram: 5 Methods That Actually Work
- How to See Deleted Stories on Instagram: 6 Working Methods (2026)
- How to See Unsent Messages on Instagram: 5 Proven Methods (2026)
- Facebook Location Tracker: How to Find Location by Facebook Account?
- Sign up for Spam Calls and Texts: Your Safety Guide